Origins and the Math Behind the Tool
Fibonacci retracement is one of the most widely referenced techniques in technical analysis. Traders use it to pinpoint the price areas where a market is likely to stall or reverse during a pullback within a broader trend. In practice, the tool is applied after a strong directional move to estimate how deep a correction might run before the prevailing trend resumes.
The levels are built from ratios extracted from the Fibonacci sequence, a numerical pattern that appears repeatedly in natural structures and, according to many market participants, also in price behaviour. The sequence was formalised by Leonardo Fibonacci, a 13th-century Italian mathematician, and follows a simple rule: each term equals the sum of the two preceding ones (0, 1, 1, 2, 3, 5, 8, 13, 21, 34, 55, 89, 144, and so on).
The ratio that matters most to traders emerges when you divide any term by the one that follows it. As the numbers grow larger, that division converges on approximately 0.618, a figure commonly called the Golden Ratio. A quick illustration: 55 ÷ 89 yields roughly 0.618, which is why the 61.8 % line on a retracement grid carries particular weight among technical analysts.
A Worked Example on the USD/CAD Pair
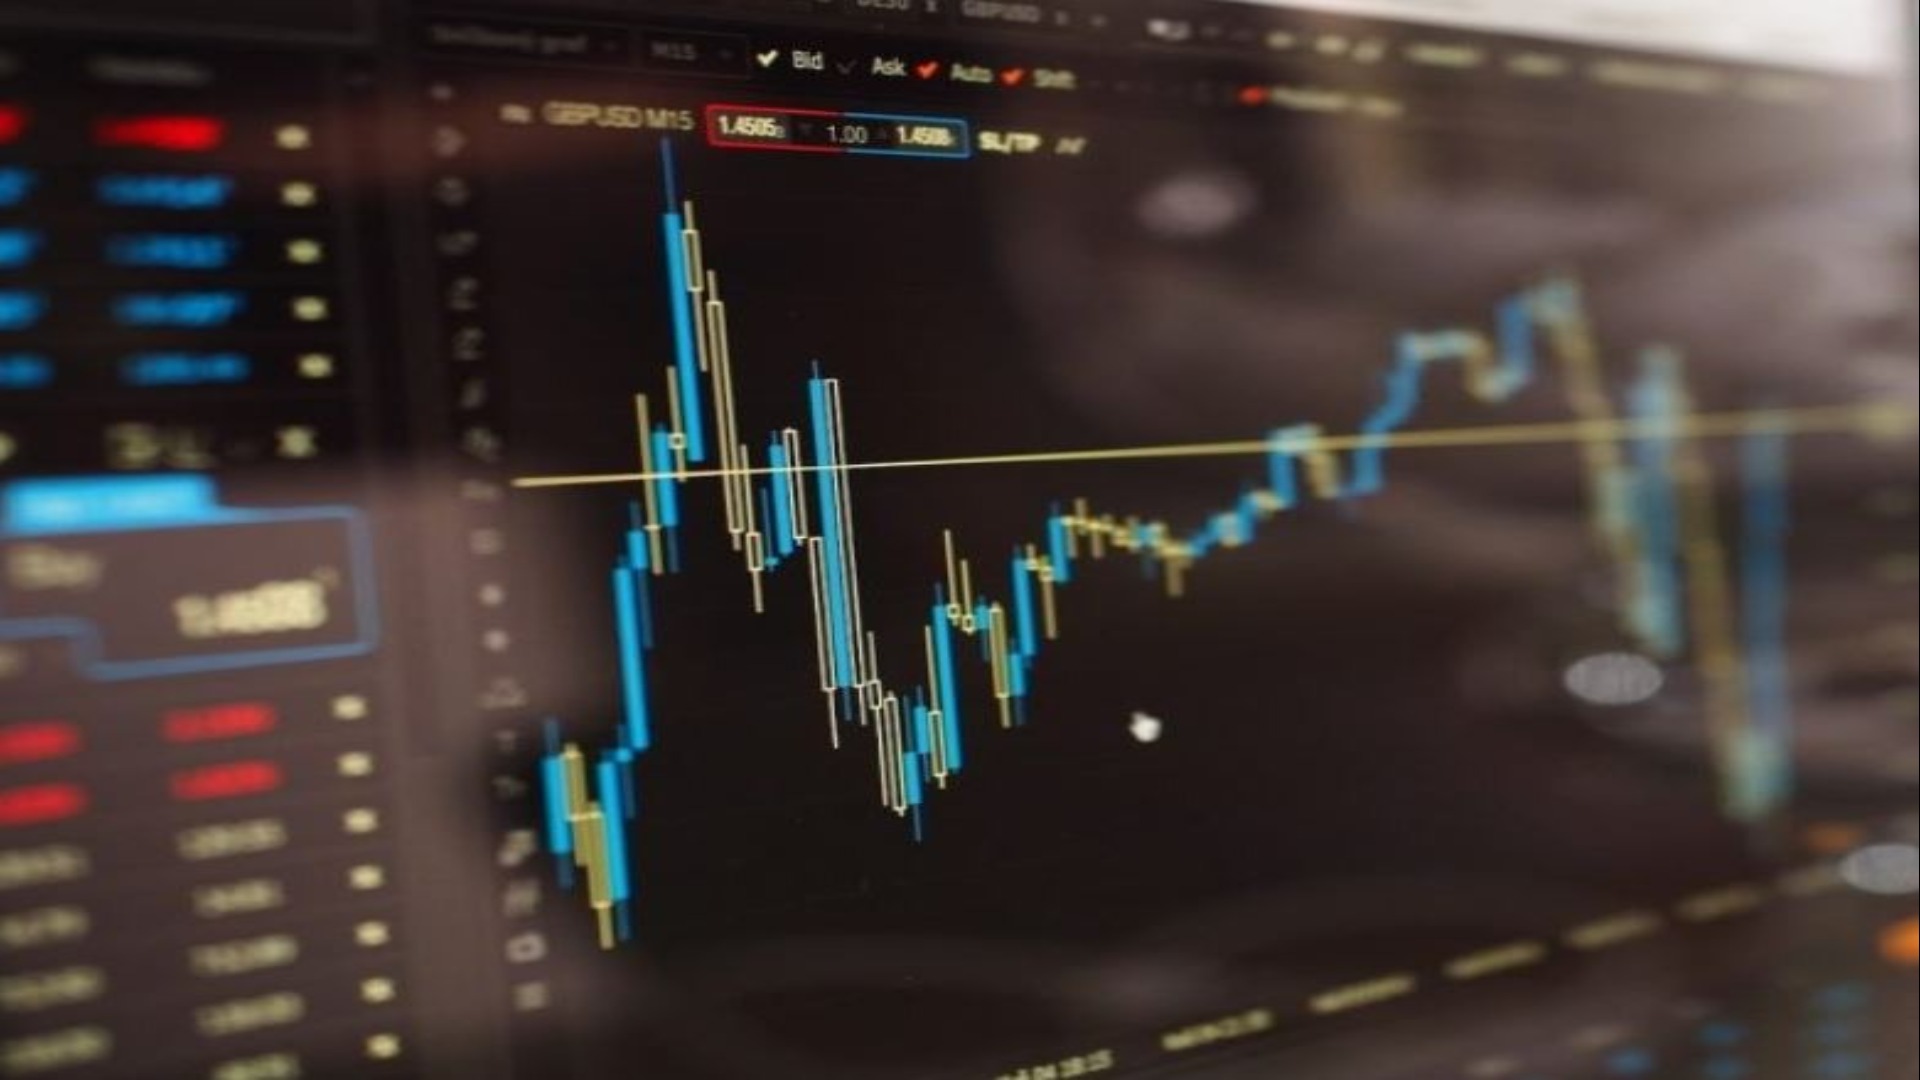
To see the tool in action, consider a four-hour chart of the USD/CAD cross displayed on TradingView. In the first retracement setup, a swing high sat at 1.3871 and a swing low at 1.3940. After the initial move, price retraced toward the 61.8 % level, landing near 1.3914. It then consolidated within the 38.2 % to 61.8 % band, which many traders call the "golden pocket" (in this case spanning roughly 1.3897 to 1.3914), before drifting back toward the original low at 1.3871.
A second retracement covered the range from 1.3869 to 1.3949. Price again found a floor at the 61.8 % level, this time around 1.3900, and subsequently pushed above the 23.6 % mark at 1.3930. That break above the lower retracement suggested momentum was shifting to the upside, and the golden-pocket zone had effectively acted as a springboard for buying interest.
Translating the second setup into a pip-based result: the entry sat at 1.3900 (the bounce off the 61.8 % golden pocket), and the exit landed near 1.3945, just before a reversal candle formed. The difference, 0.0045, divided by 0.0001 gives approximately 45 pips of profit on the trade.
Drawing the Grid and Reading the Levels
In an uptrend, the standard procedure is to anchor the tool at a significant swing low and drag it up to the corresponding swing high. Horizontal reference lines then appear below the high at the 23.6 %, 38.2 %, 50 %, and 61.8 % marks, each representing a zone where the price might attract buyers during a correction.
In a downtrend the logic is mirrored: you start at the swing high and extend down to the swing low, producing levels above the low that could serve as resistance for any attempted bounce.
Most modern charting platforms include a built-in Fibonacci retracement tool. Selecting it and clicking from the first extreme to the second is usually all that is required; the software calculates and plots the levels automatically.
A few practical habits improve accuracy. First, scan a higher timeframe to locate the dominant price swing before dropping to a lower timeframe to fine-tune your entry. Second, keep the chart uncluttered; stacking multiple overlapping Fibonacci grids tends to create more noise than insight. Third, treat the 61.8 % line as the most technically significant level, since it corresponds directly to the Golden Ratio and often marks the deepest and most watched correction point.
The levels gain extra credibility when they coincide with other technical features—prior support or resistance zones, a key moving average, or a well-defined trend line. When several of these elements cluster around the same price area, the probability of a meaningful reaction increases noticeably. Traders who want to project where a trend might exhaust itself also reach for Fibonacci extensions, commonly the 127.2 % and 161.8 % levels, as potential profit targets.
Risk Management, Confirmation, and Common Pitfalls
No single indicator should drive a trade in isolation. Fibonacci retracement highlights probable reaction zones, not guaranteed ones, and market forces can and do override technical levels. Before placing a limit order at a specific retracement line, look for a confirming signal in price action—a hammer or pin-bar candlestick, a noticeable spike in trading volume, or a bullish divergence on an oscillator.
Pair every setup with disciplined risk management. A sensible approach is to position a stop-loss just beyond the next Fibonacci level or the most recent price extreme, whichever is closer, and to size the position so that the maximum loss stays within a fraction of your account you are comfortable giving up.
The technique performs best in strongly trending markets. In choppy, range-bound, or highly volatile conditions, price frequently slices through retracement levels without a meaningful pause, rendering the tool far less reliable.
Some of the most frequent mistakes beginners make include applying the grid to small, insignificant price wiggles, using it in sideways markets where no clear trend exists, and entering a trade based solely on a Fibonacci level without any additional confirmation. The tool is at its most powerful when the trend is unambiguous and when the retracement level is corroborated by at least one or two other technical signals. Used consistently and in that context, Fibonacci retracement remains a practical way to translate a mathematical concept into actionable trade ideas at any experience level.